JavaScript seems to be disabled in your browser. For the best experience on our site, be sure to turn on Javascript in your browser.
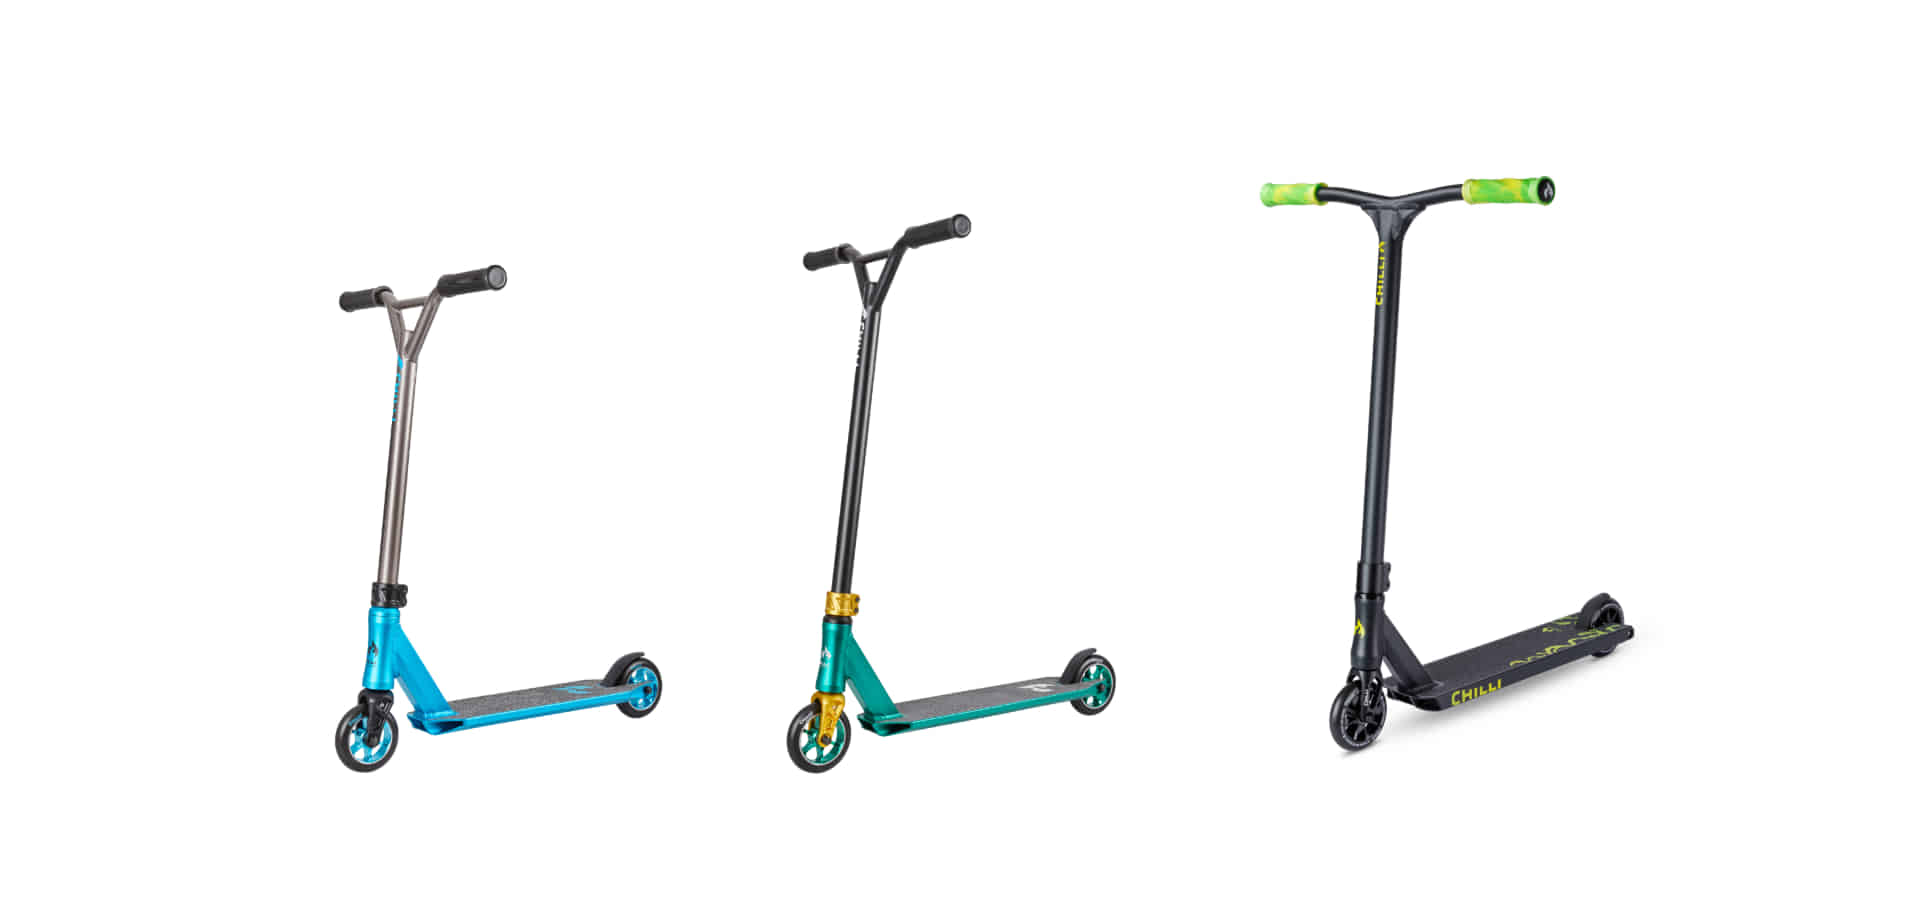
3000
ROCKY
BASE
REAPER
REAPER RELOADED V2
Need help with choosing a right scooter or parts? Product Finder
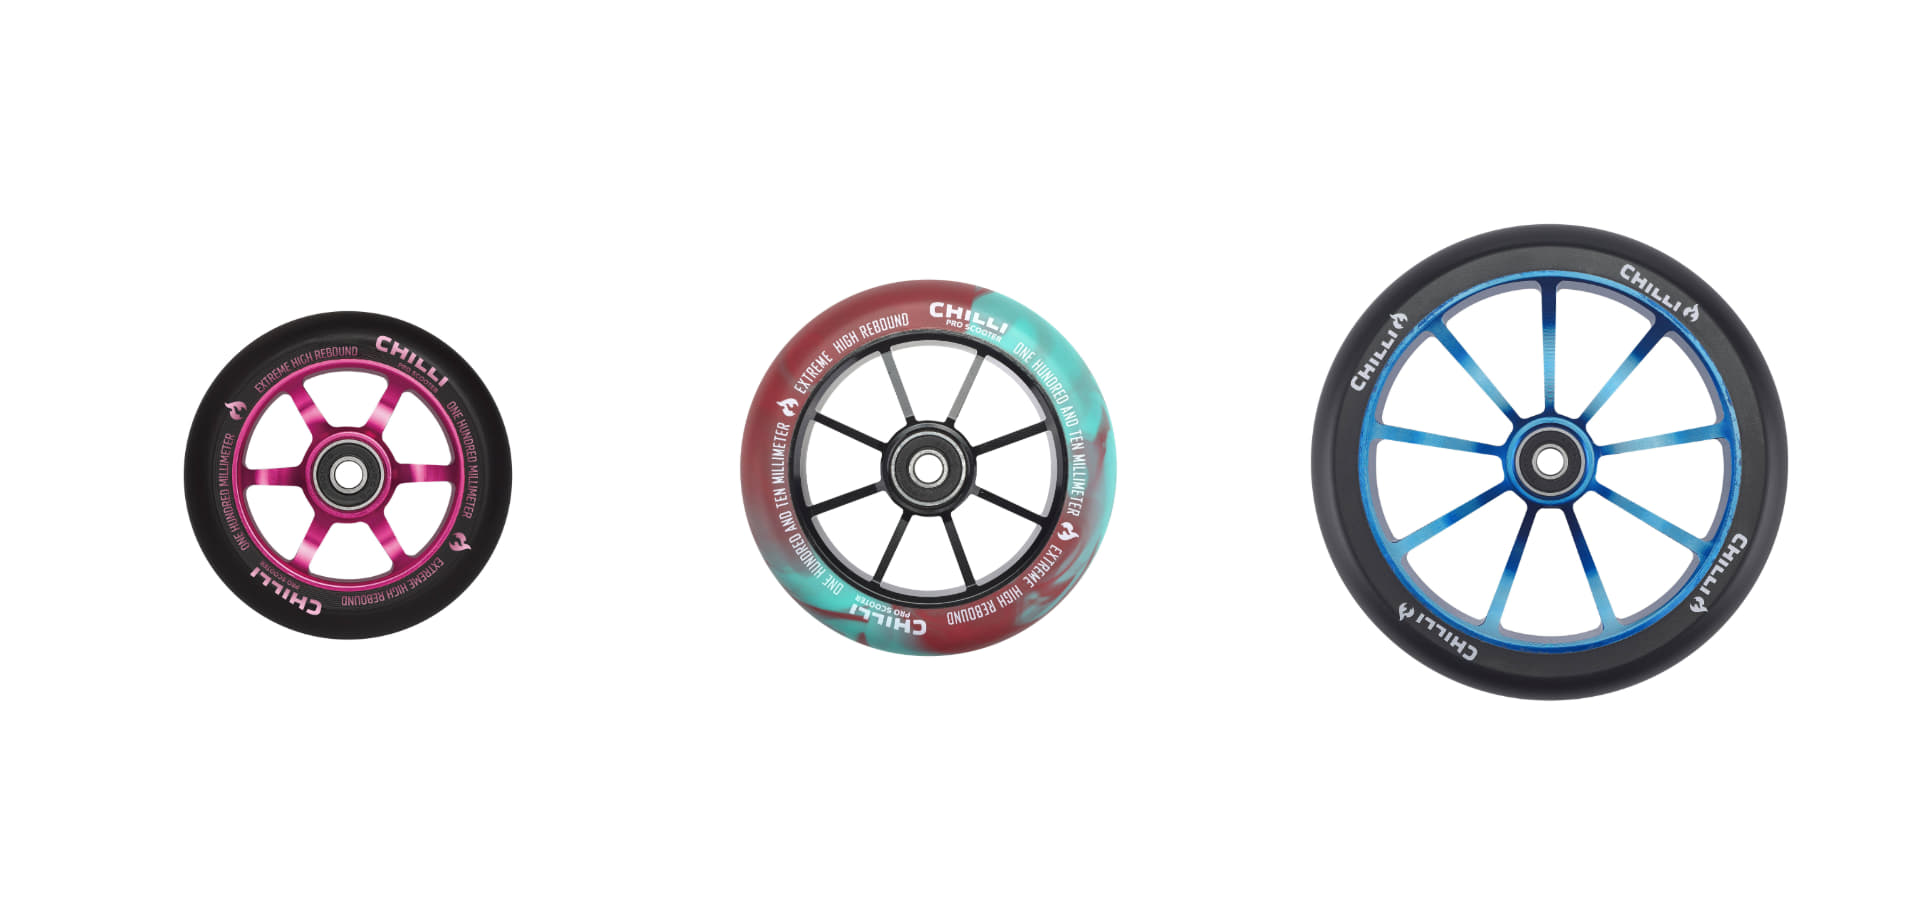
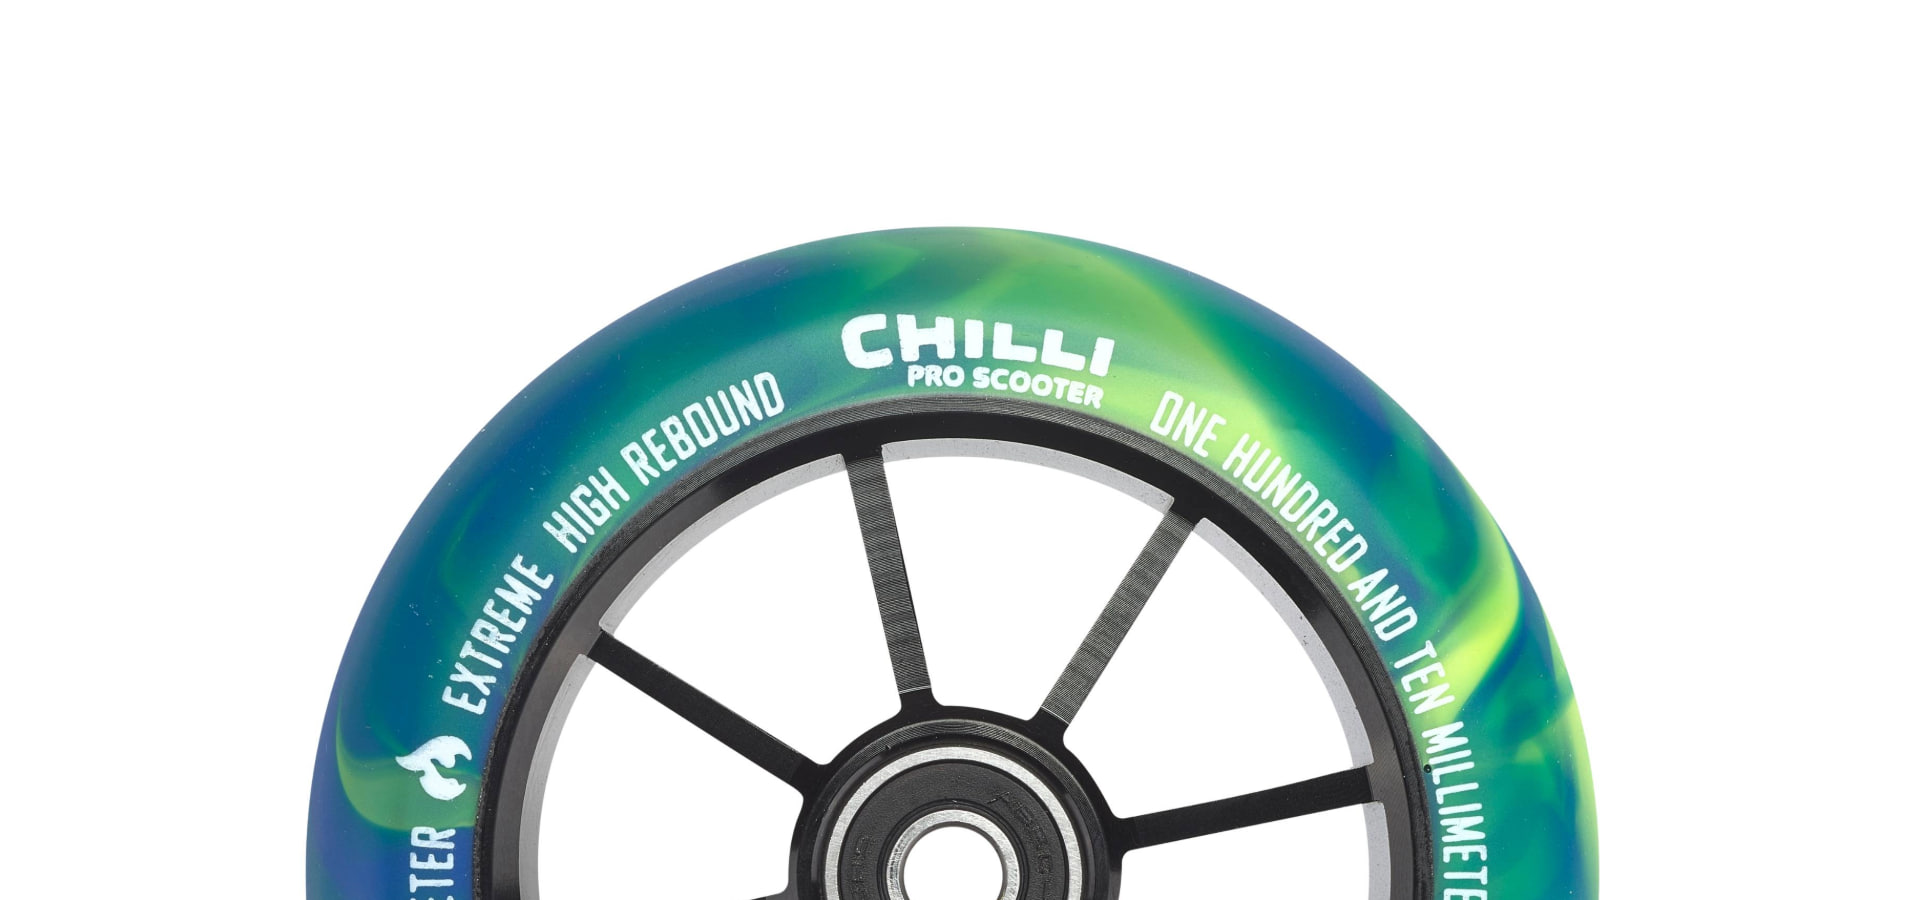
WHEELS
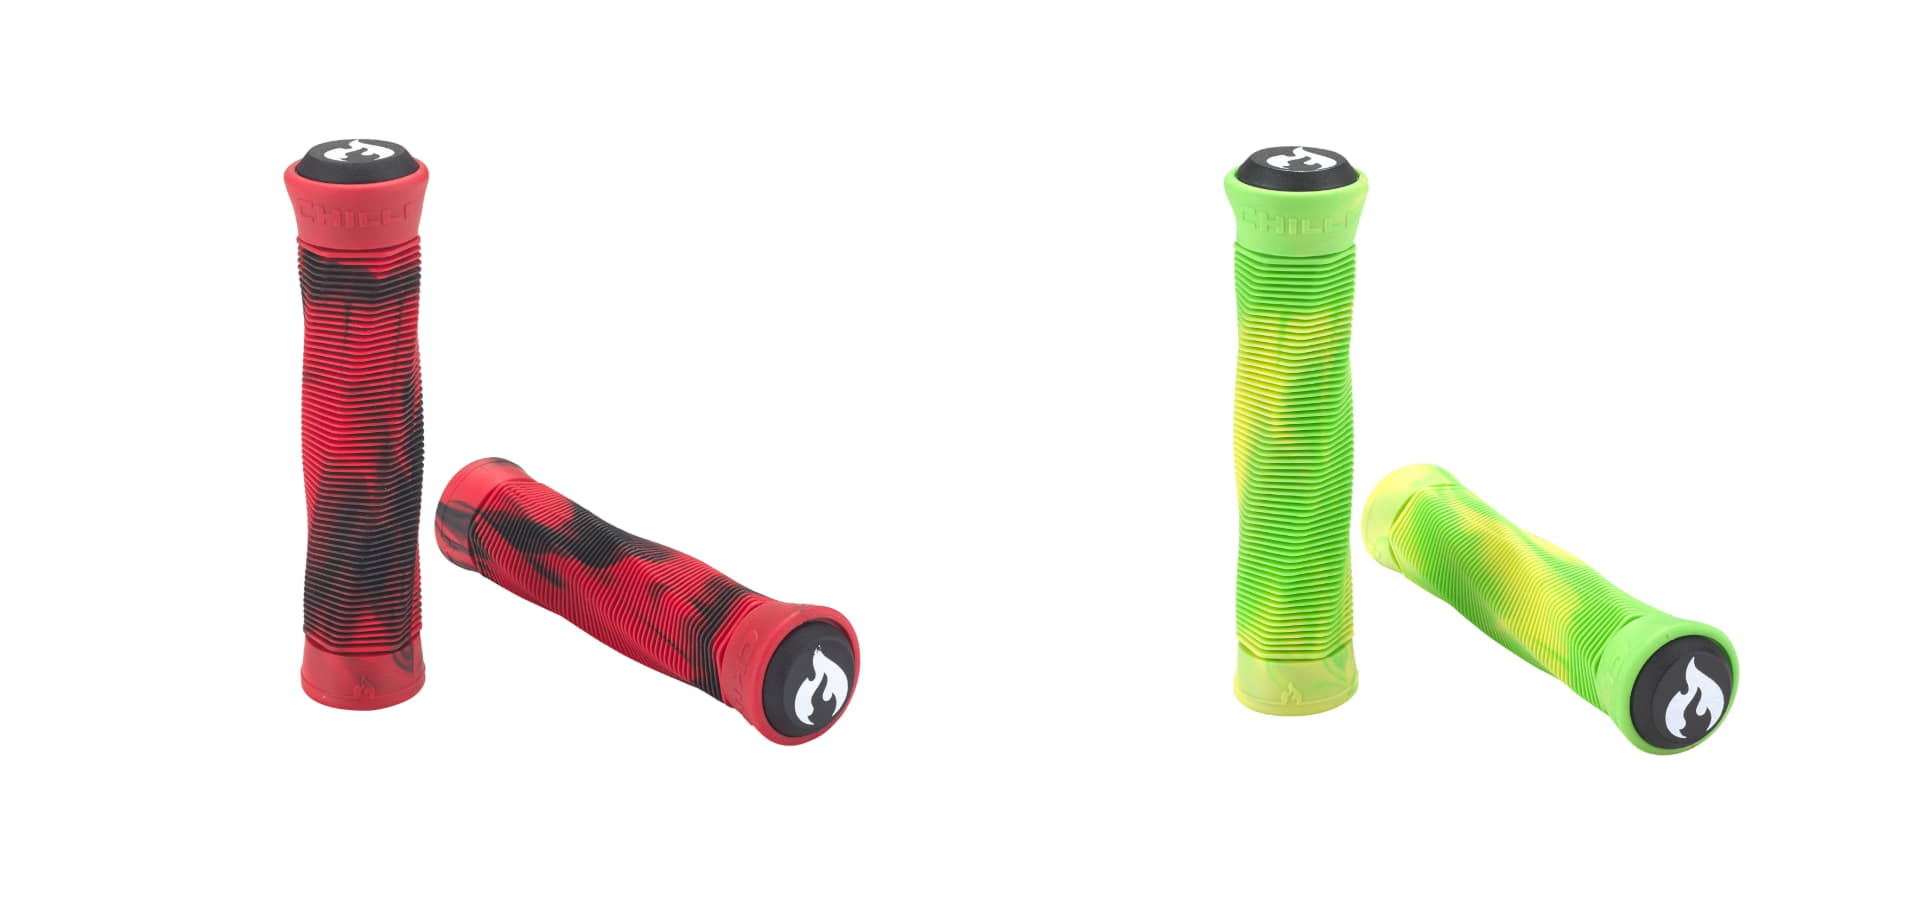
HANDLEGRIPS
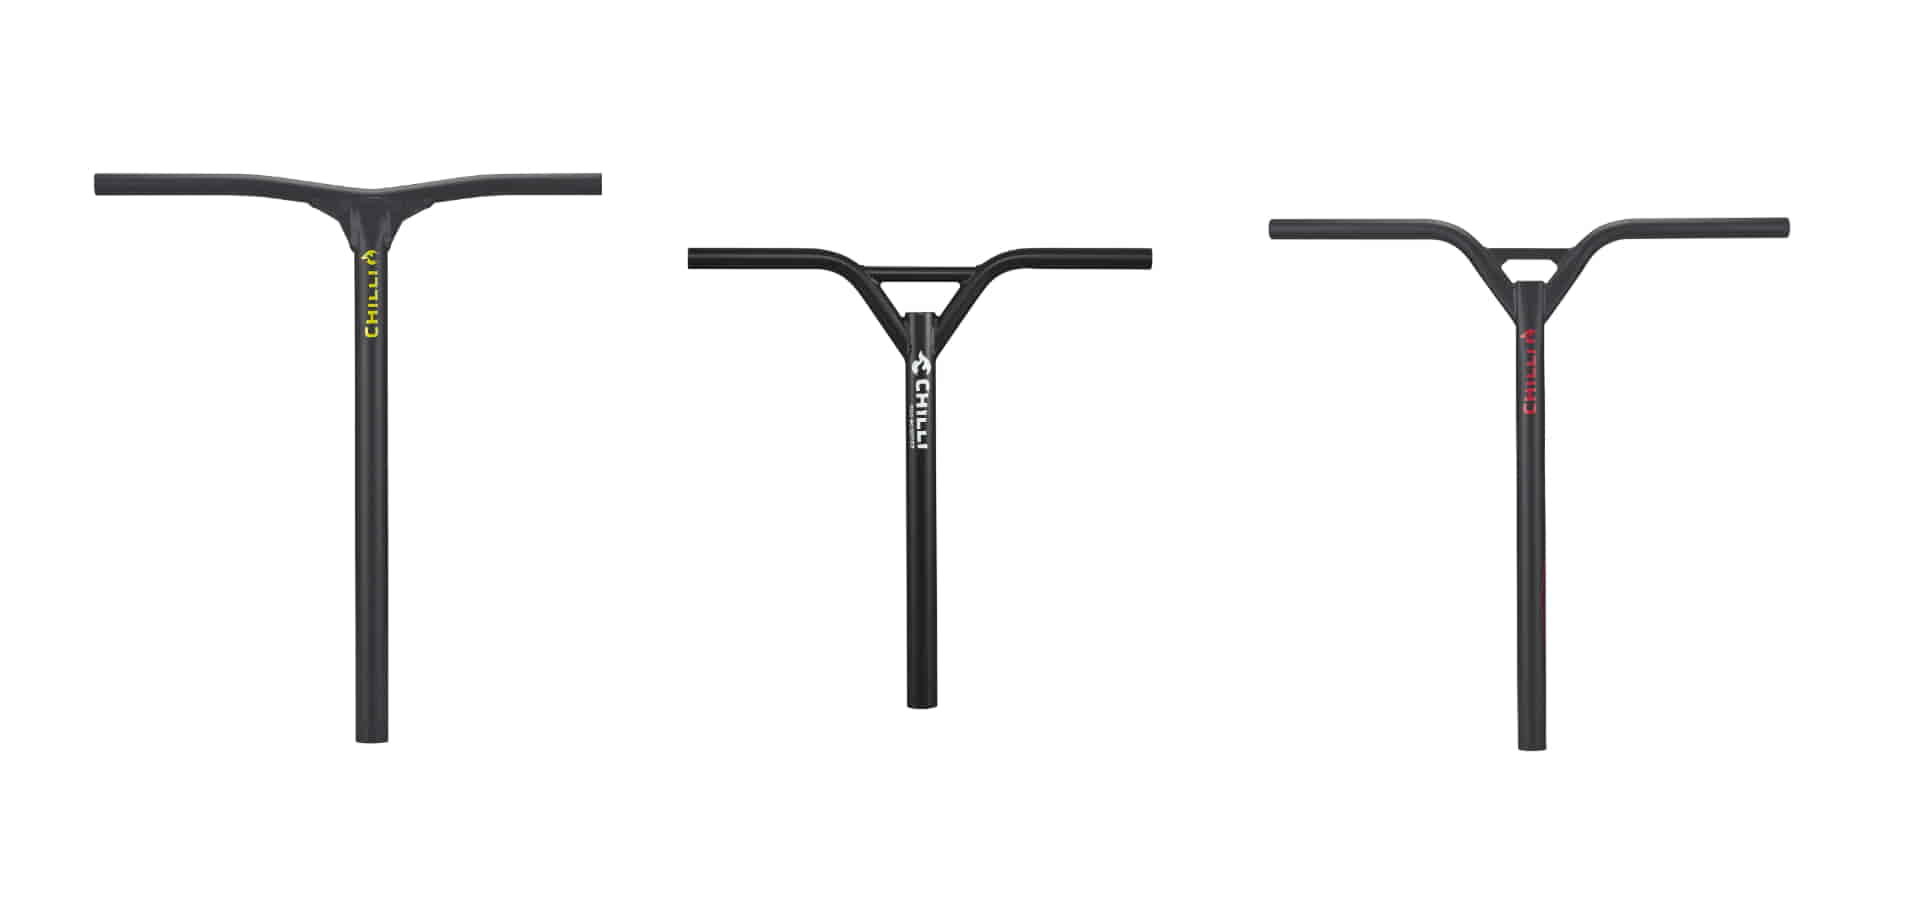
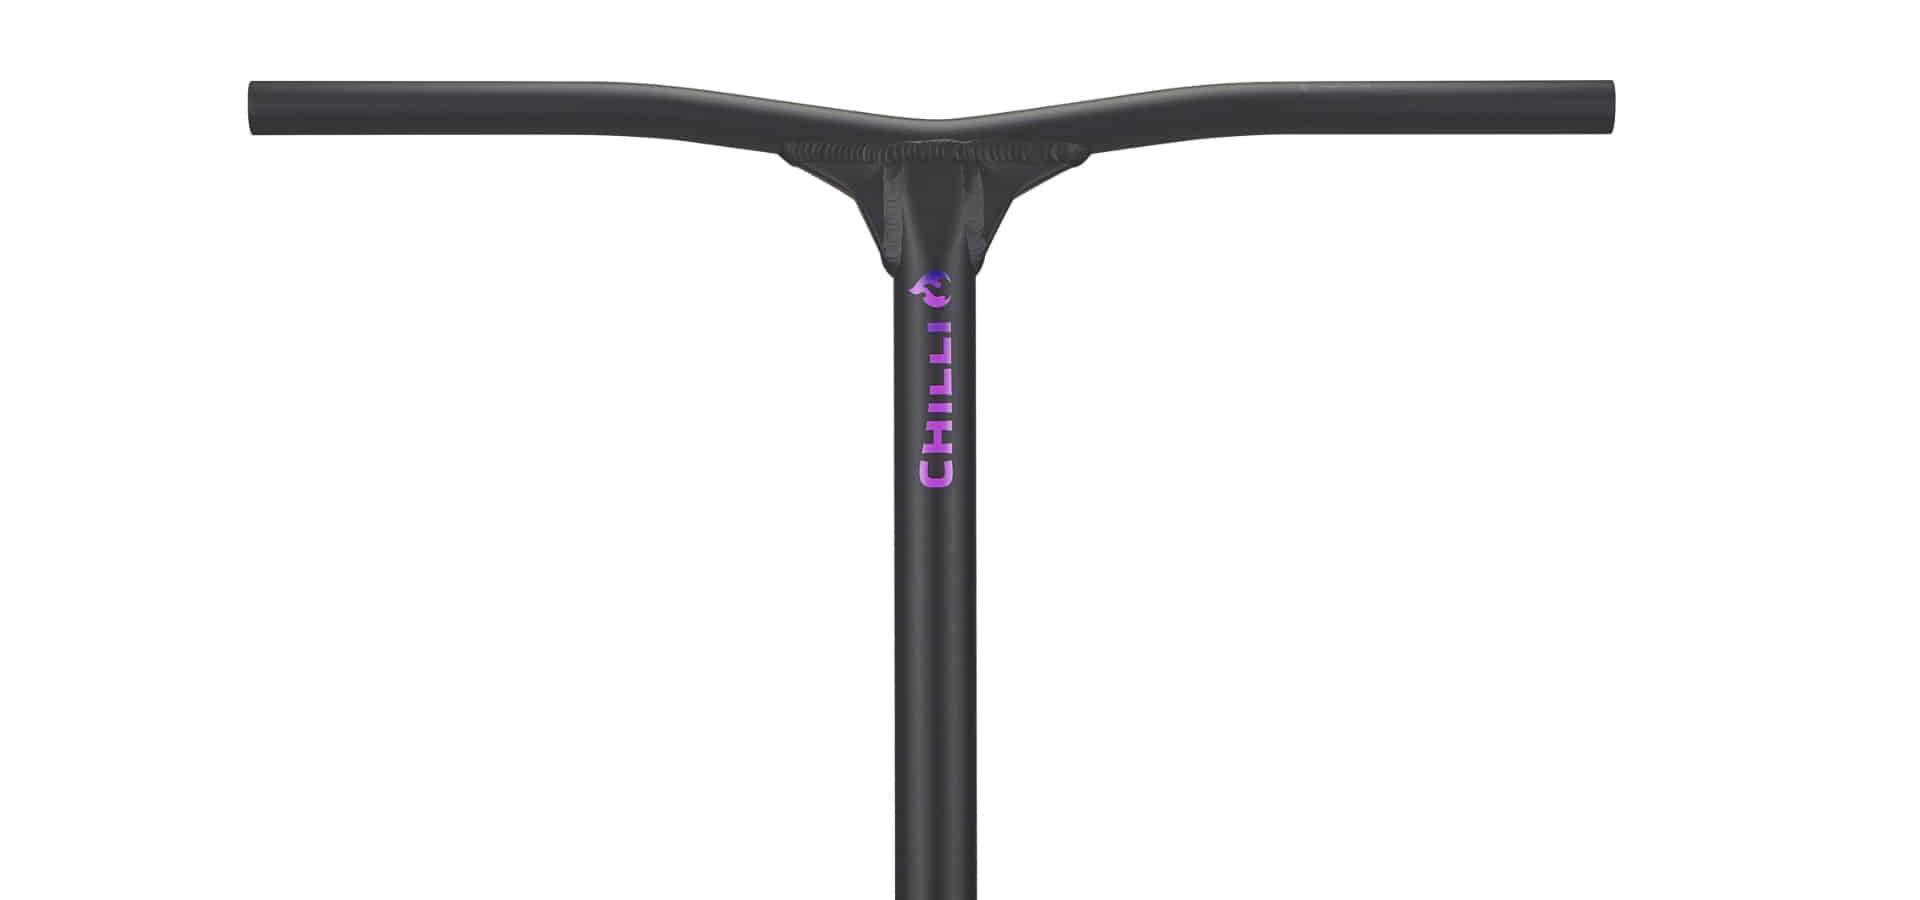
T-BARS
GRIPTAPES
CLAMPS
SCOOTER STANDS
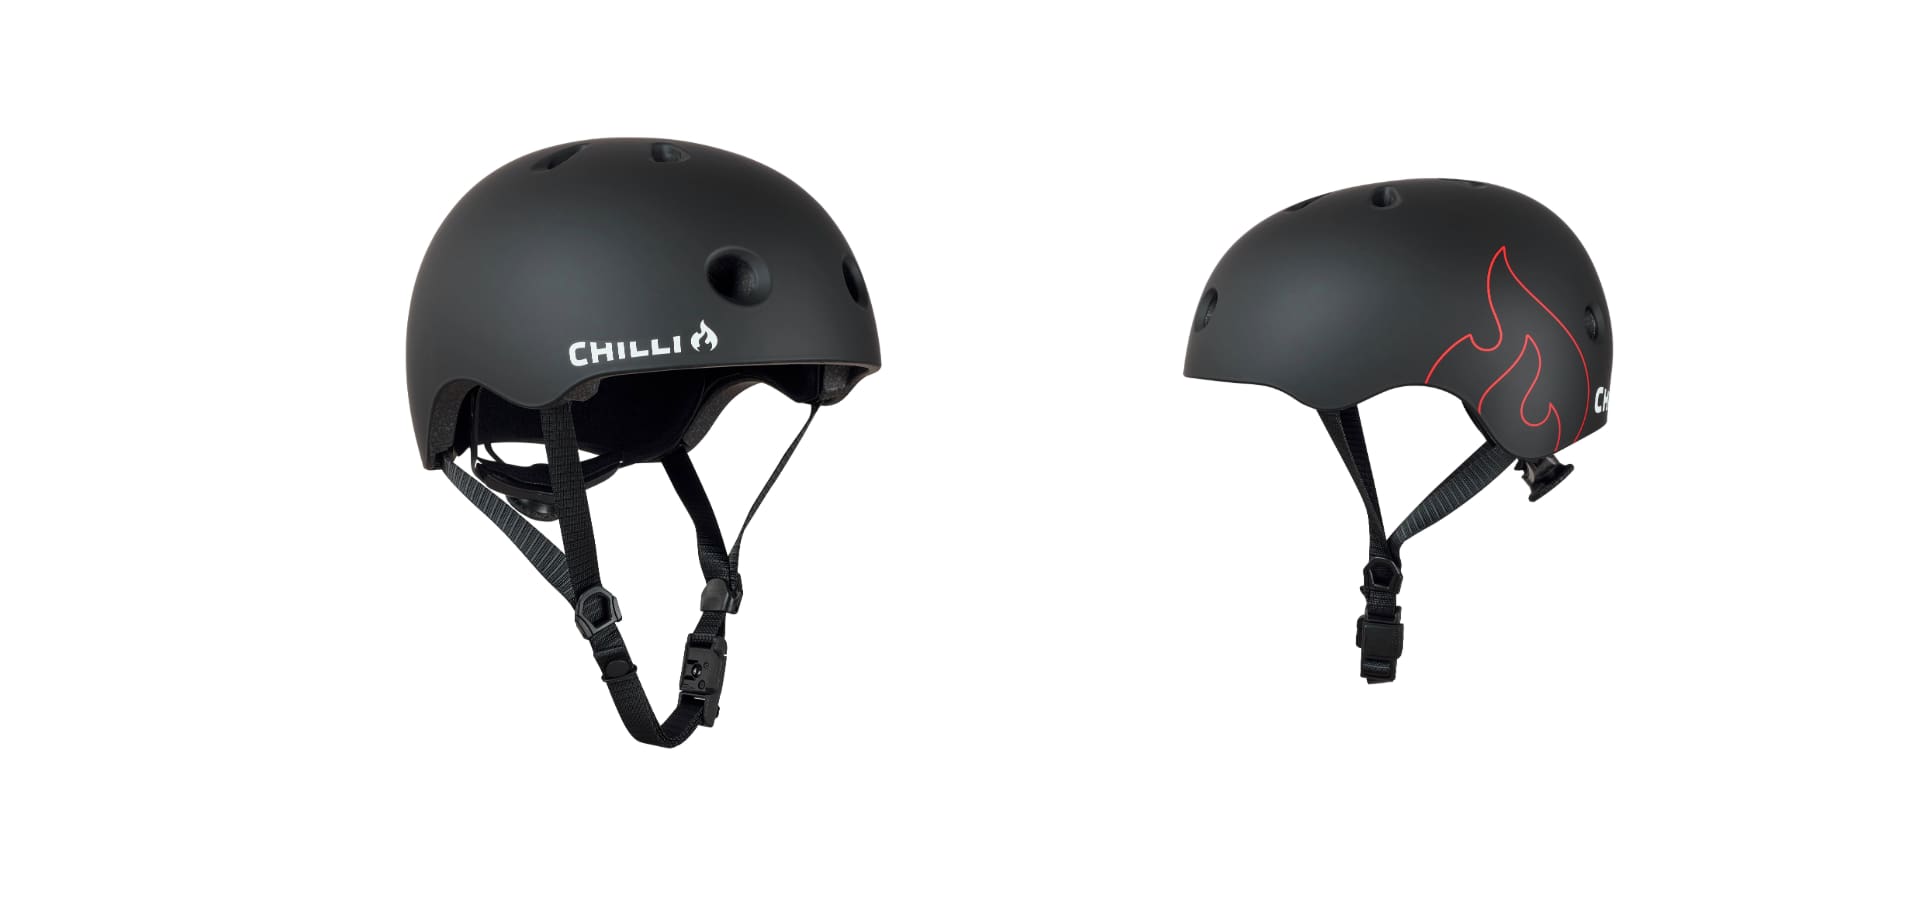
HELMET
T-SHIRTS
LONGSLEEVES
HOODIES
SHOP
WORKSHOP
CONTACT
Blog
FAQ
Optimal Scooter size
Correct Helmet size
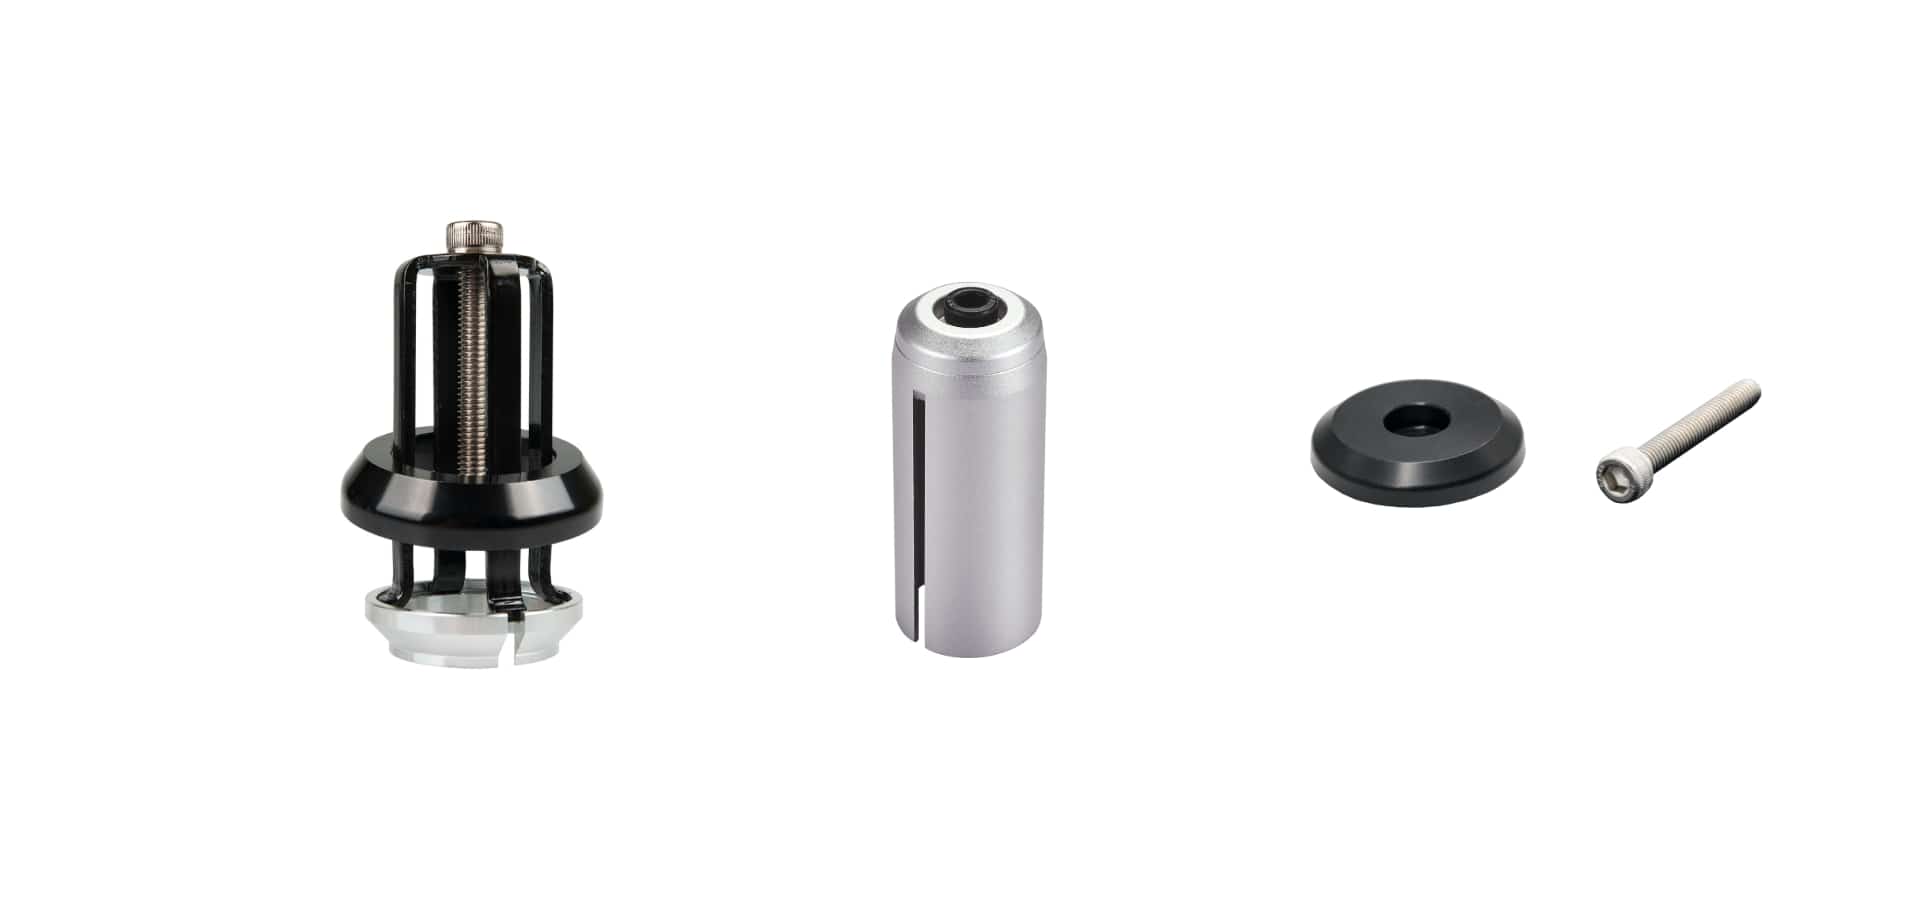
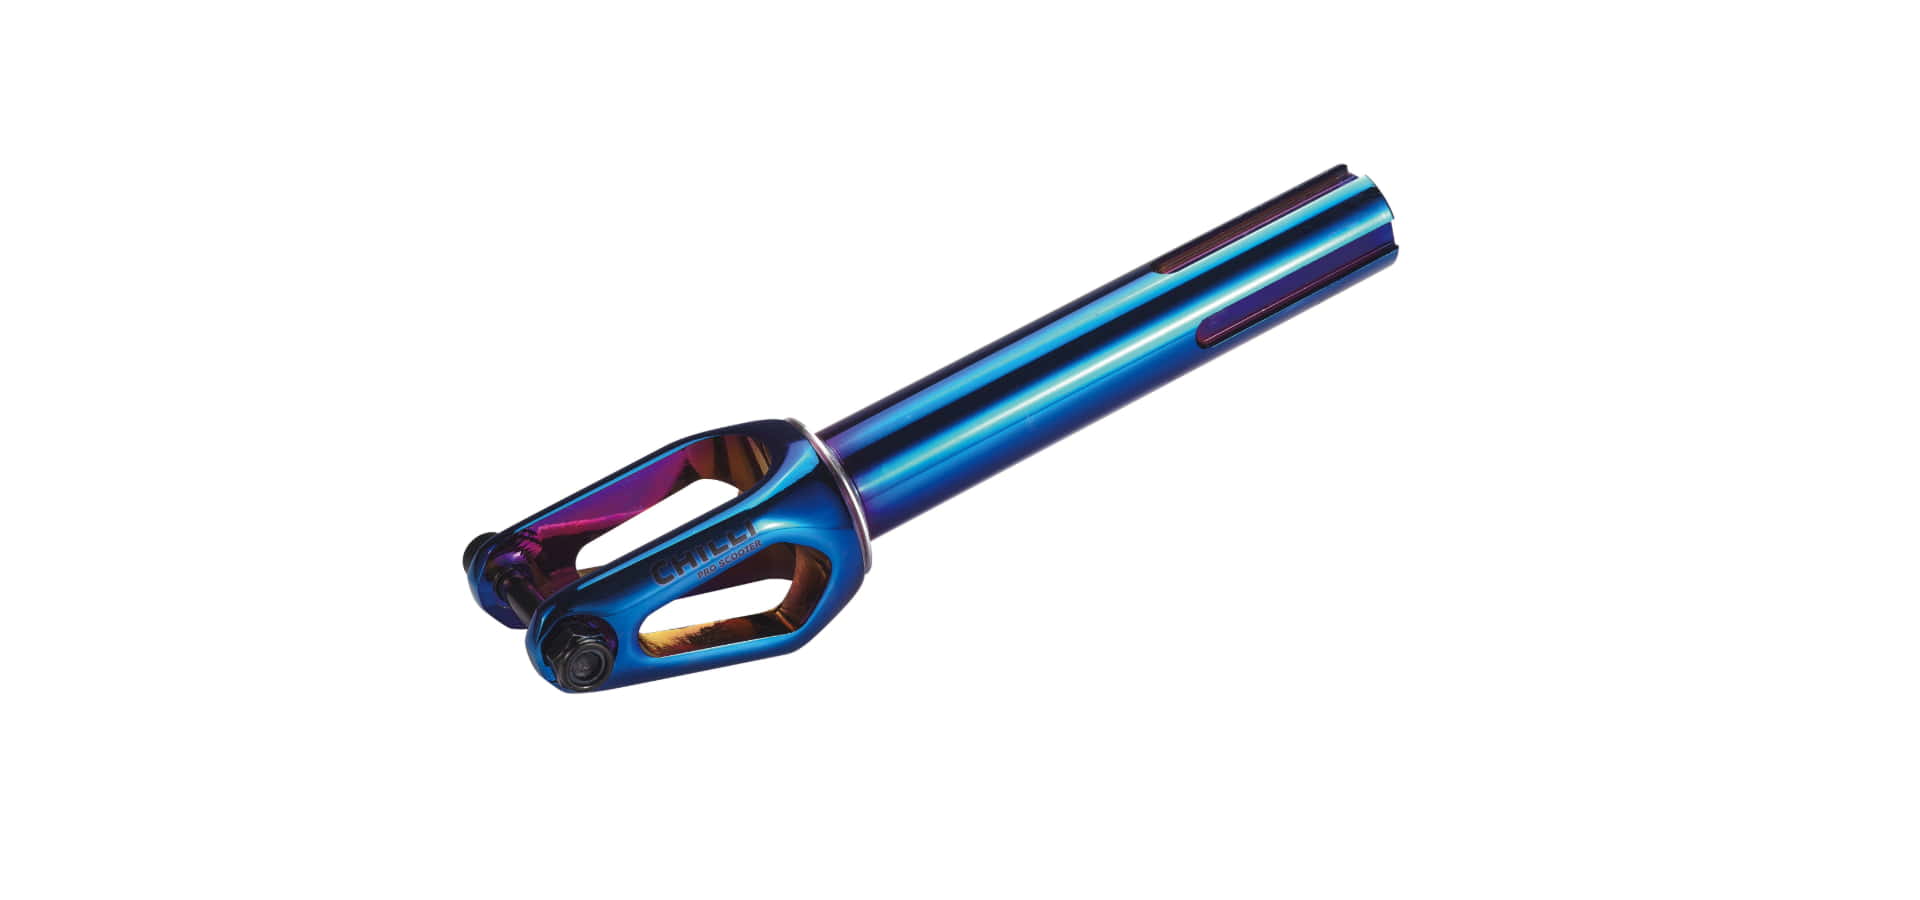
Difference Chilli Spider HIC vs. SCS
SHOPPING GUIDE
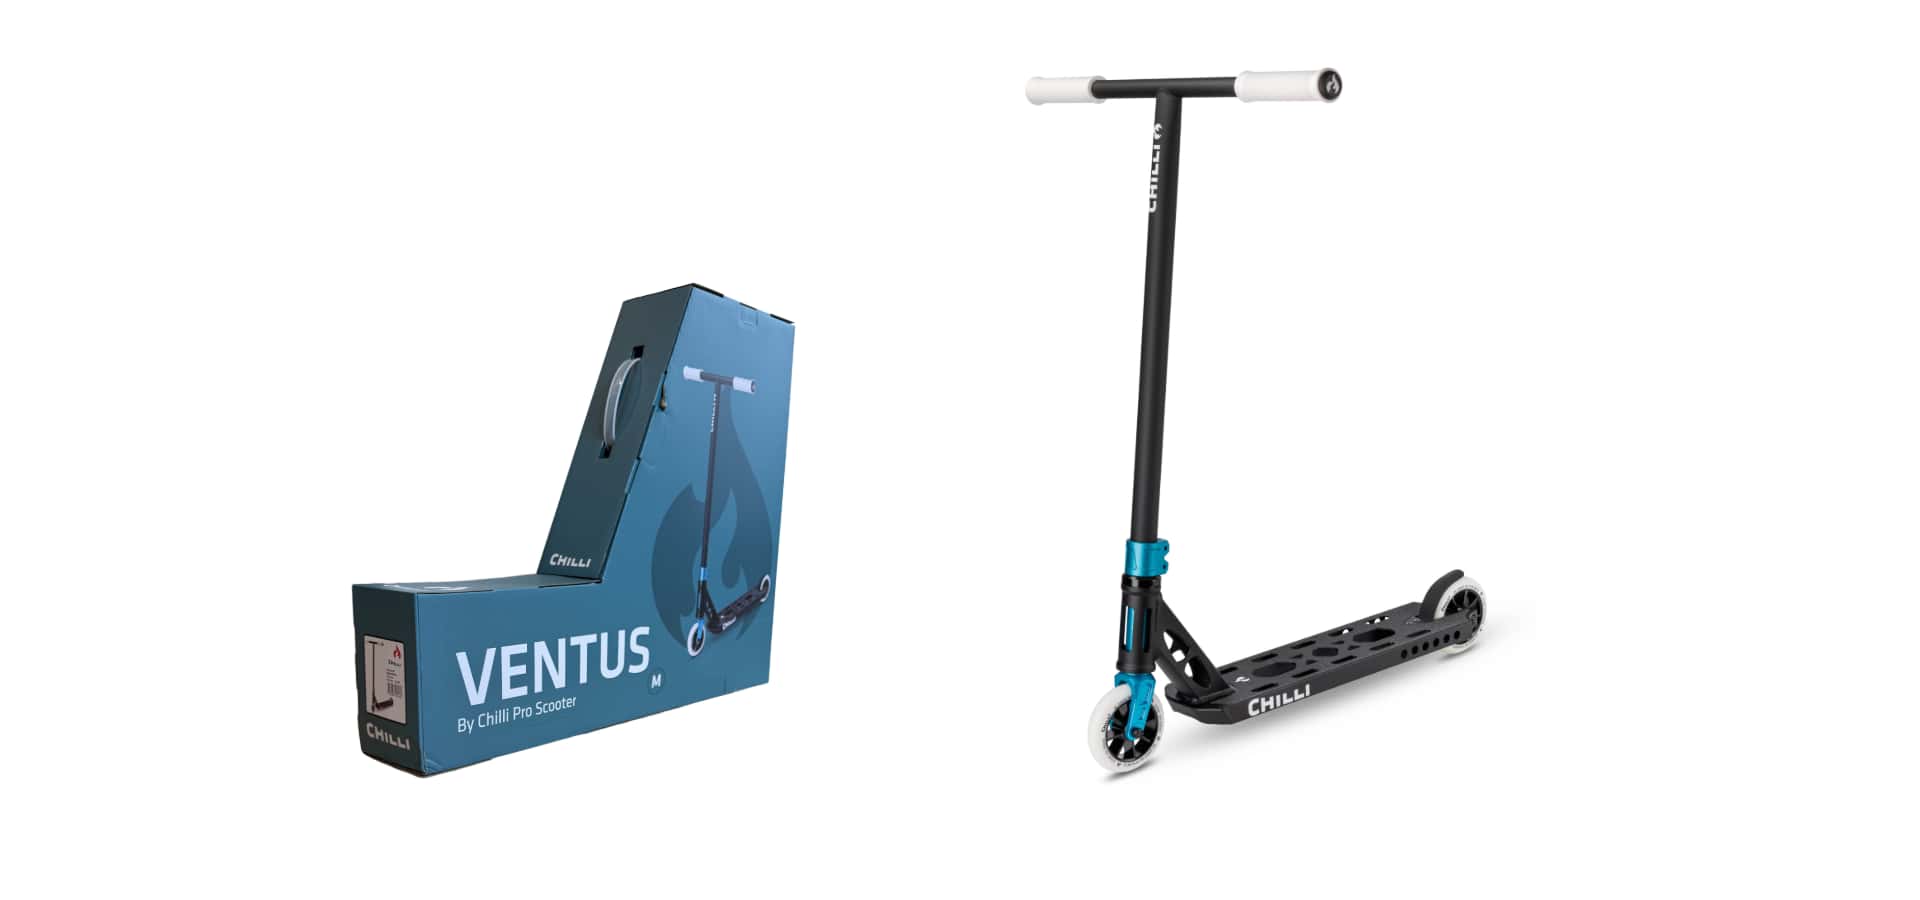
Assembly - from the box to the Skatepark
General Scooter care
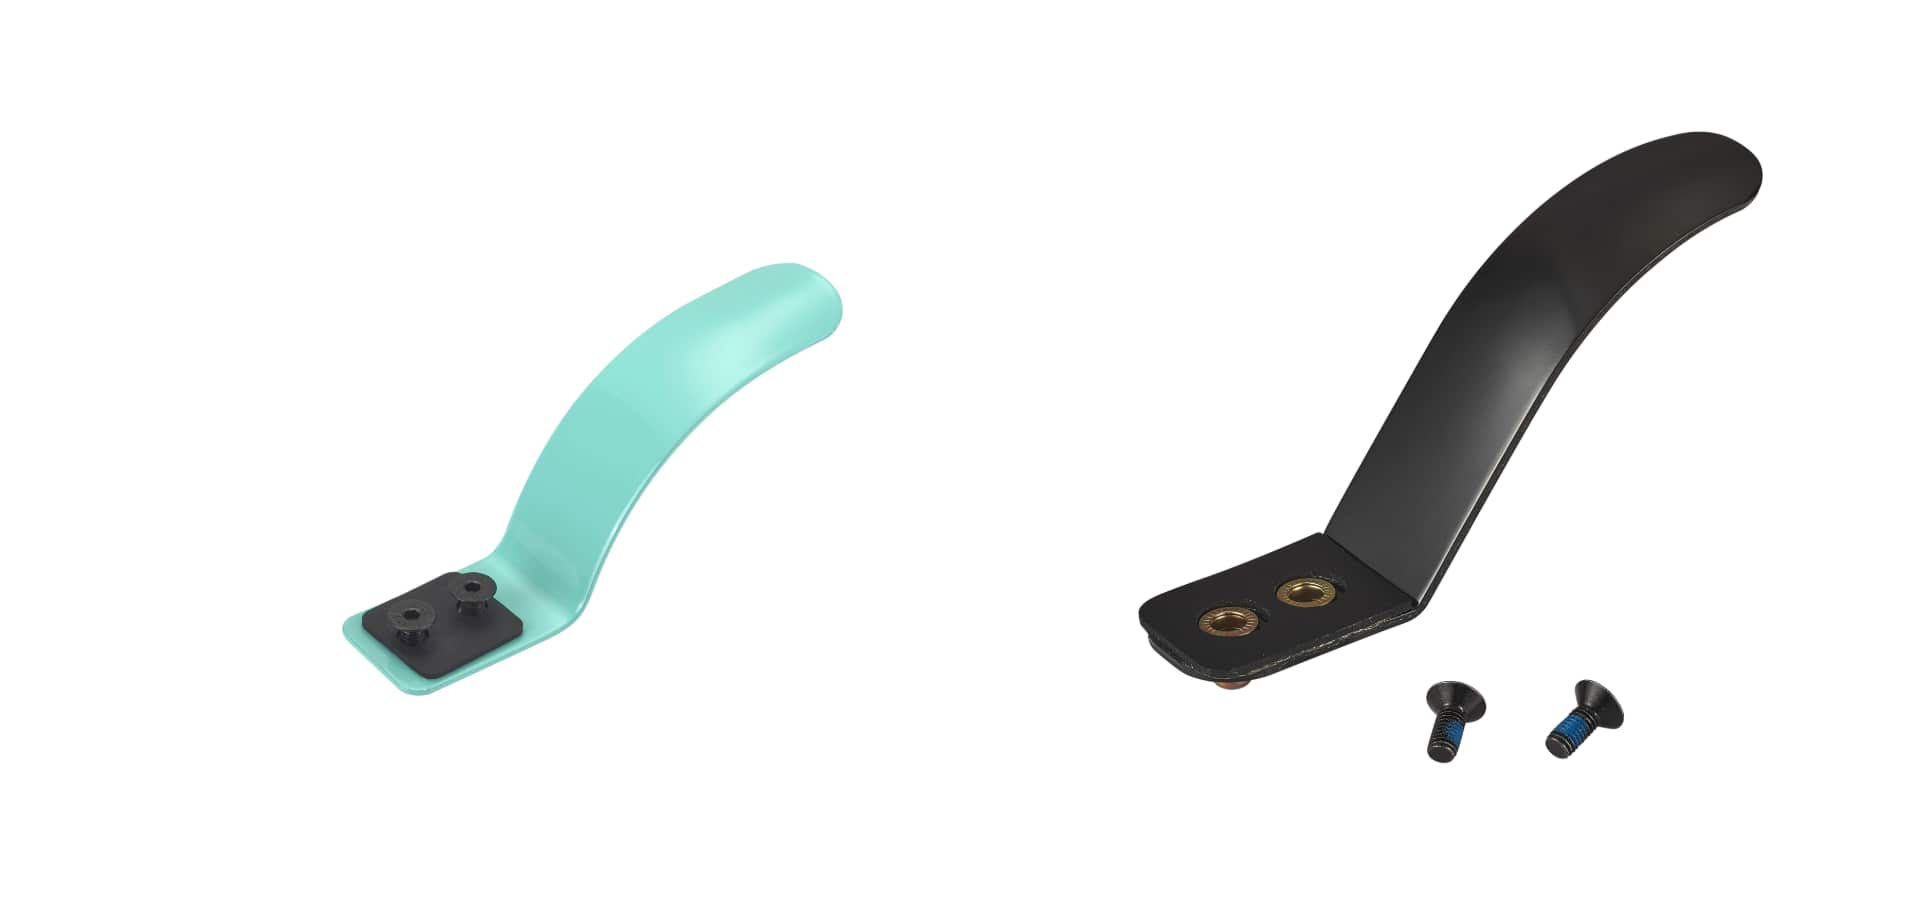
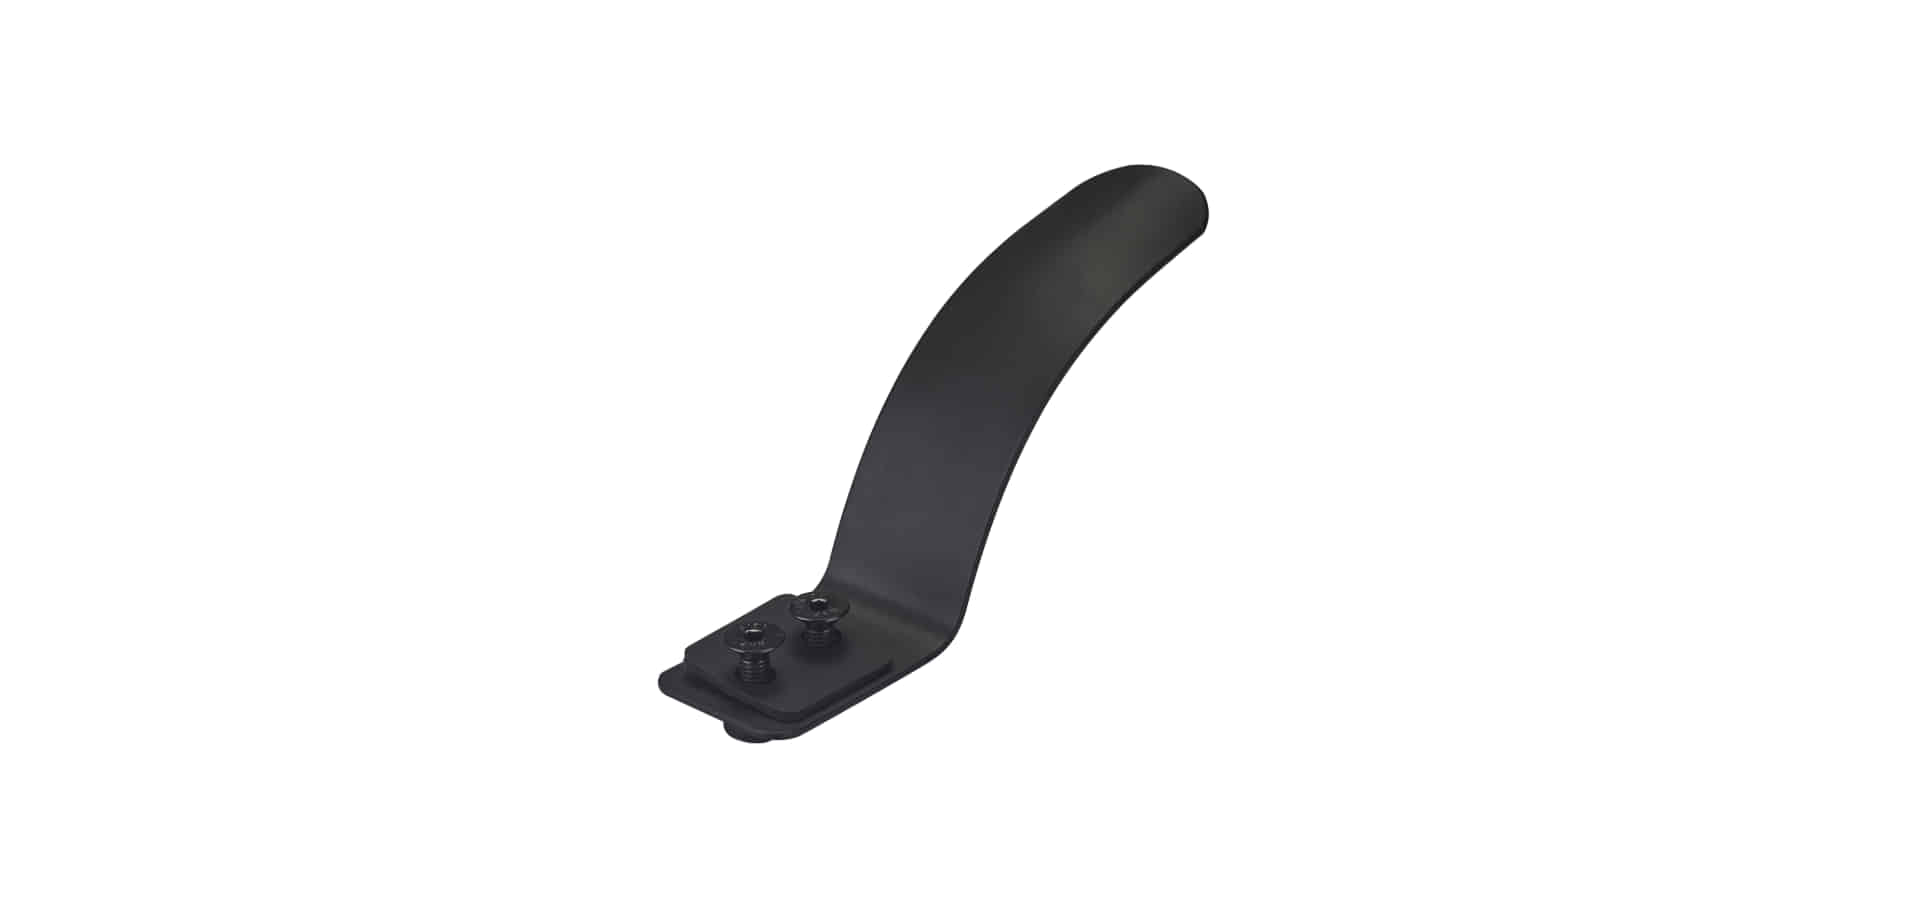
Replace the Brake
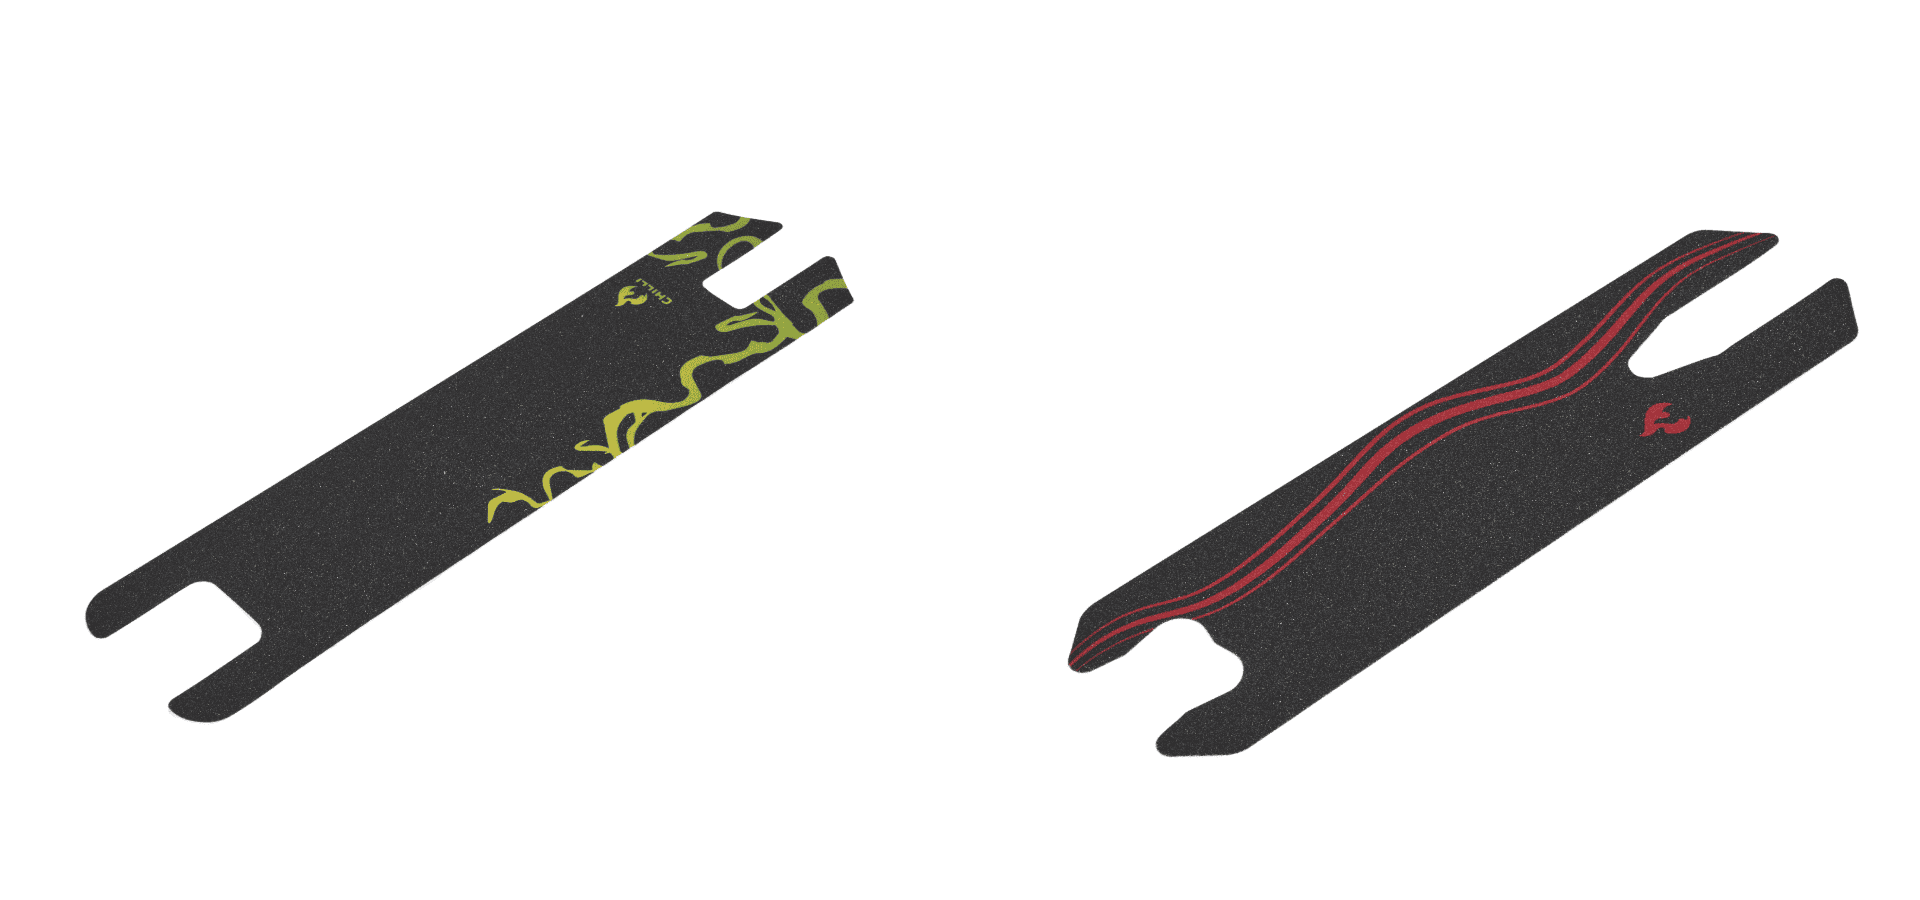
Replace the Griptape
Replace the Handles
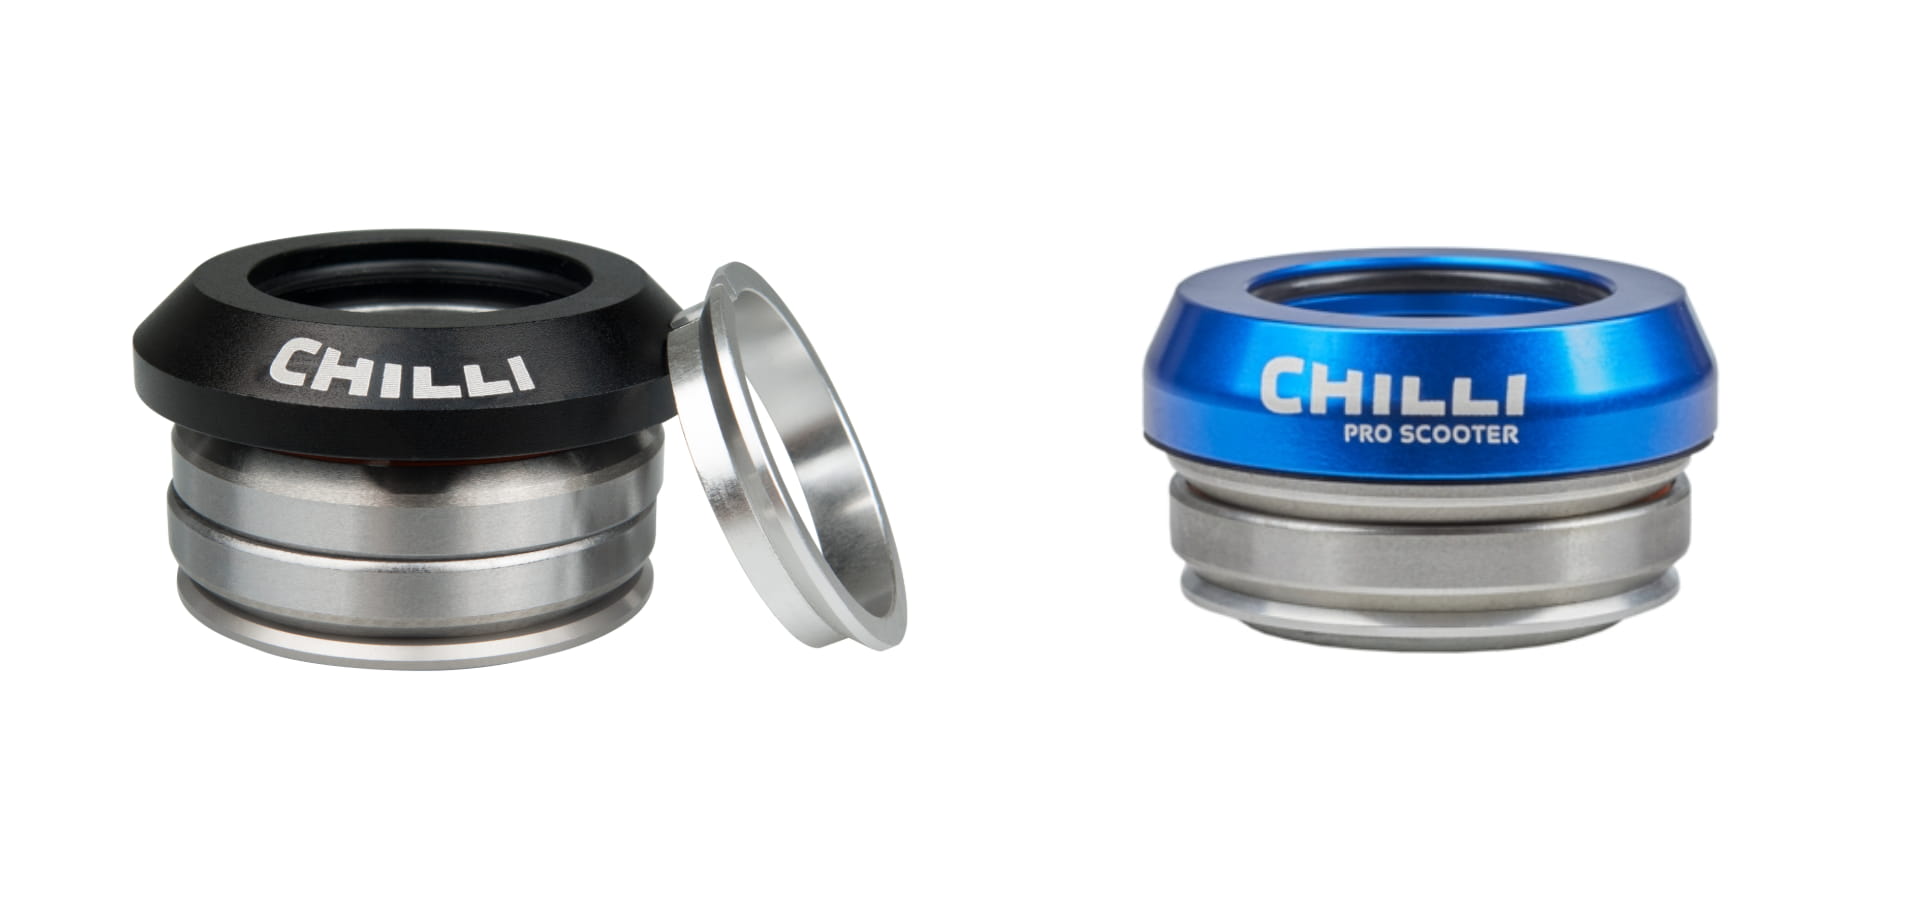
Headset “cracks” What can I do?
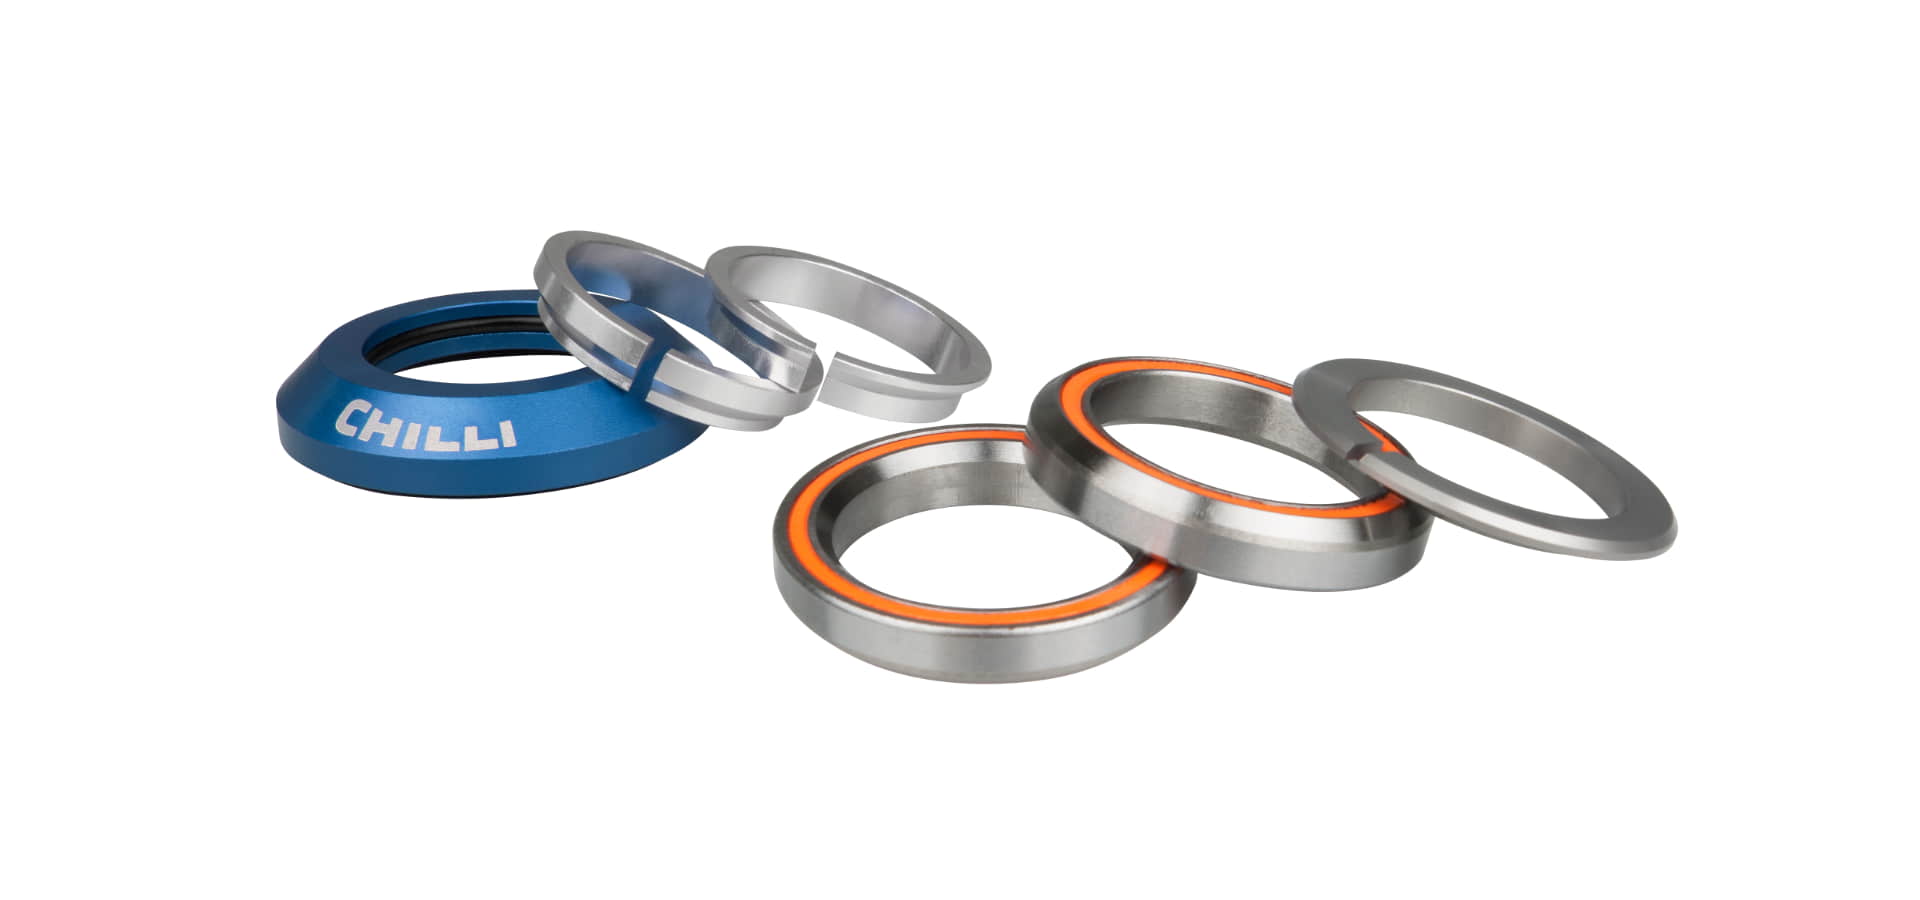
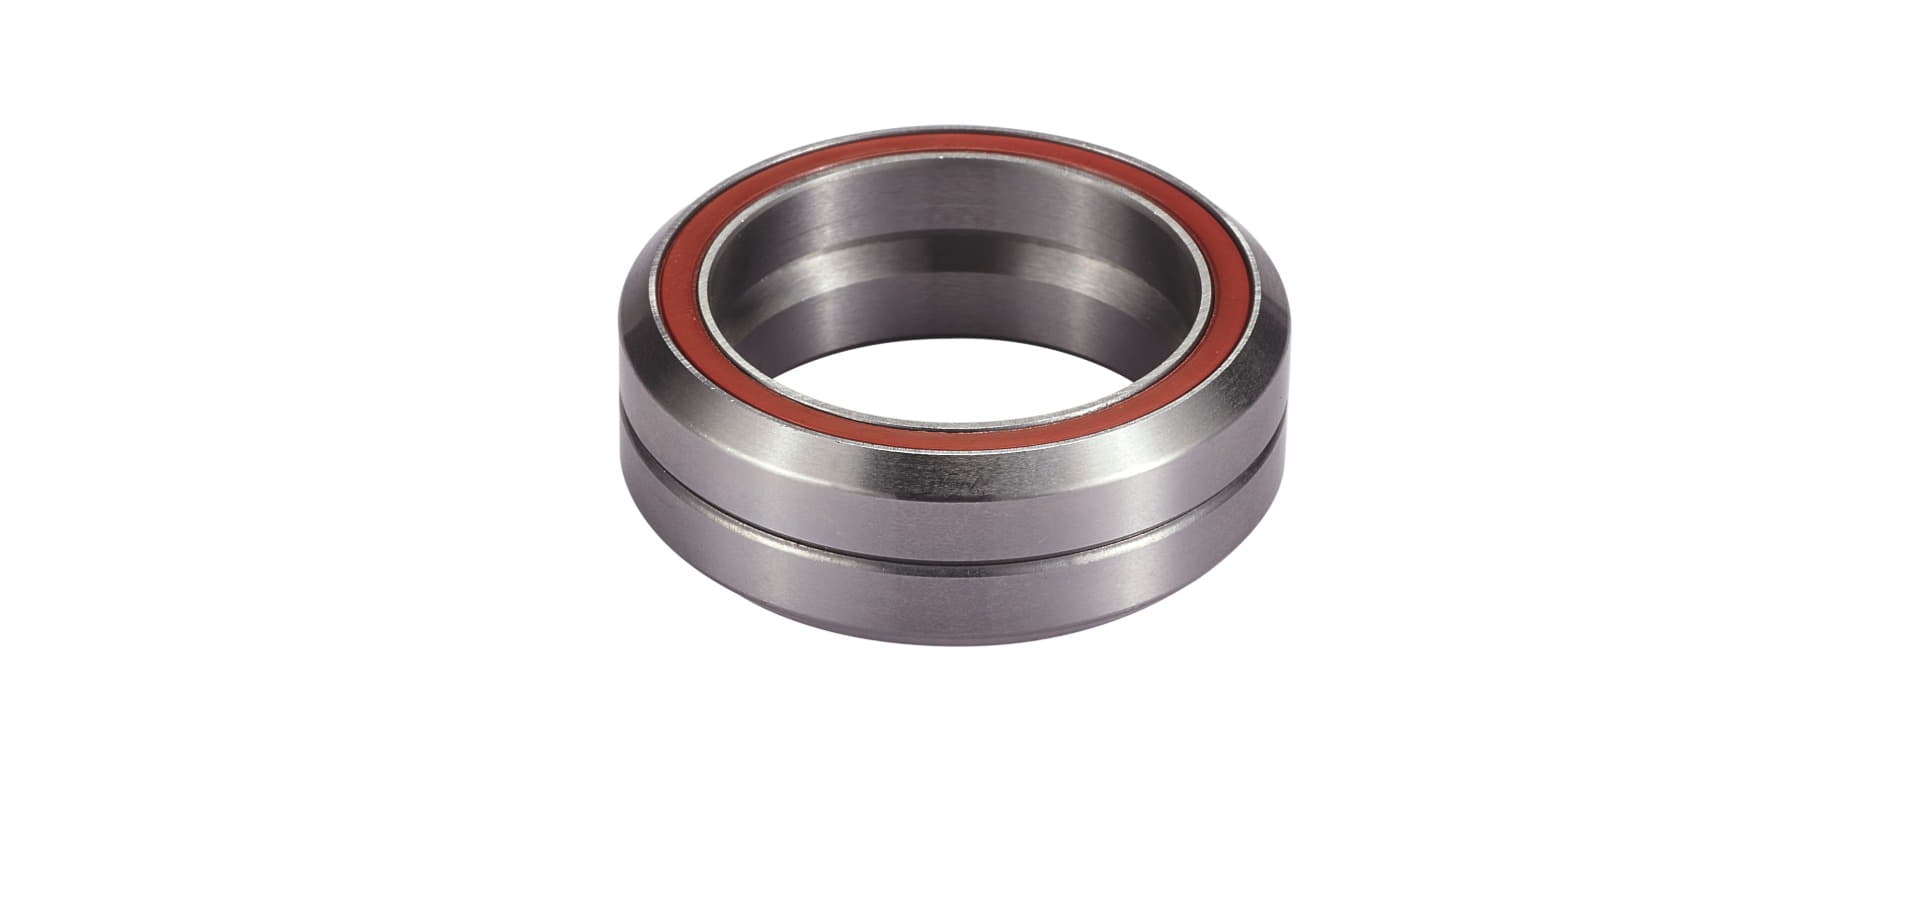
Replacing the Headset bearings
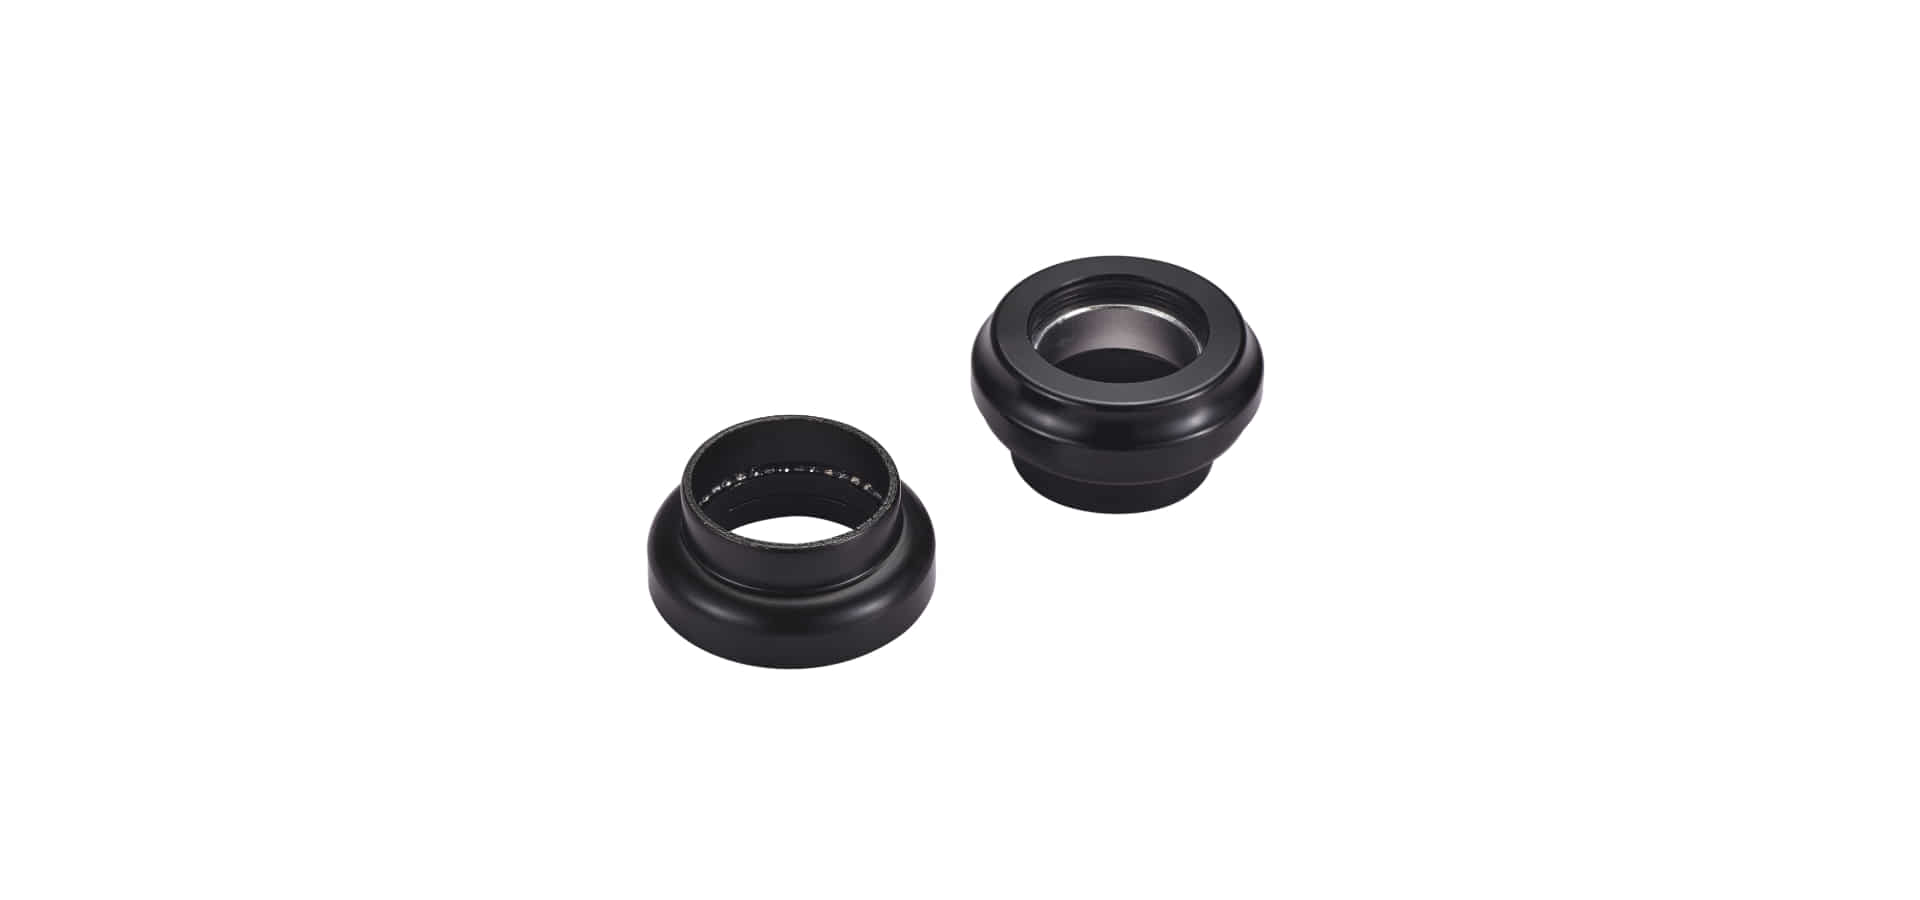
Replacing the Headset bearings (Base/Base S/Rocky)
Replacing the Wheels
Replace T-Bar/handlebar
Material Science Wheels
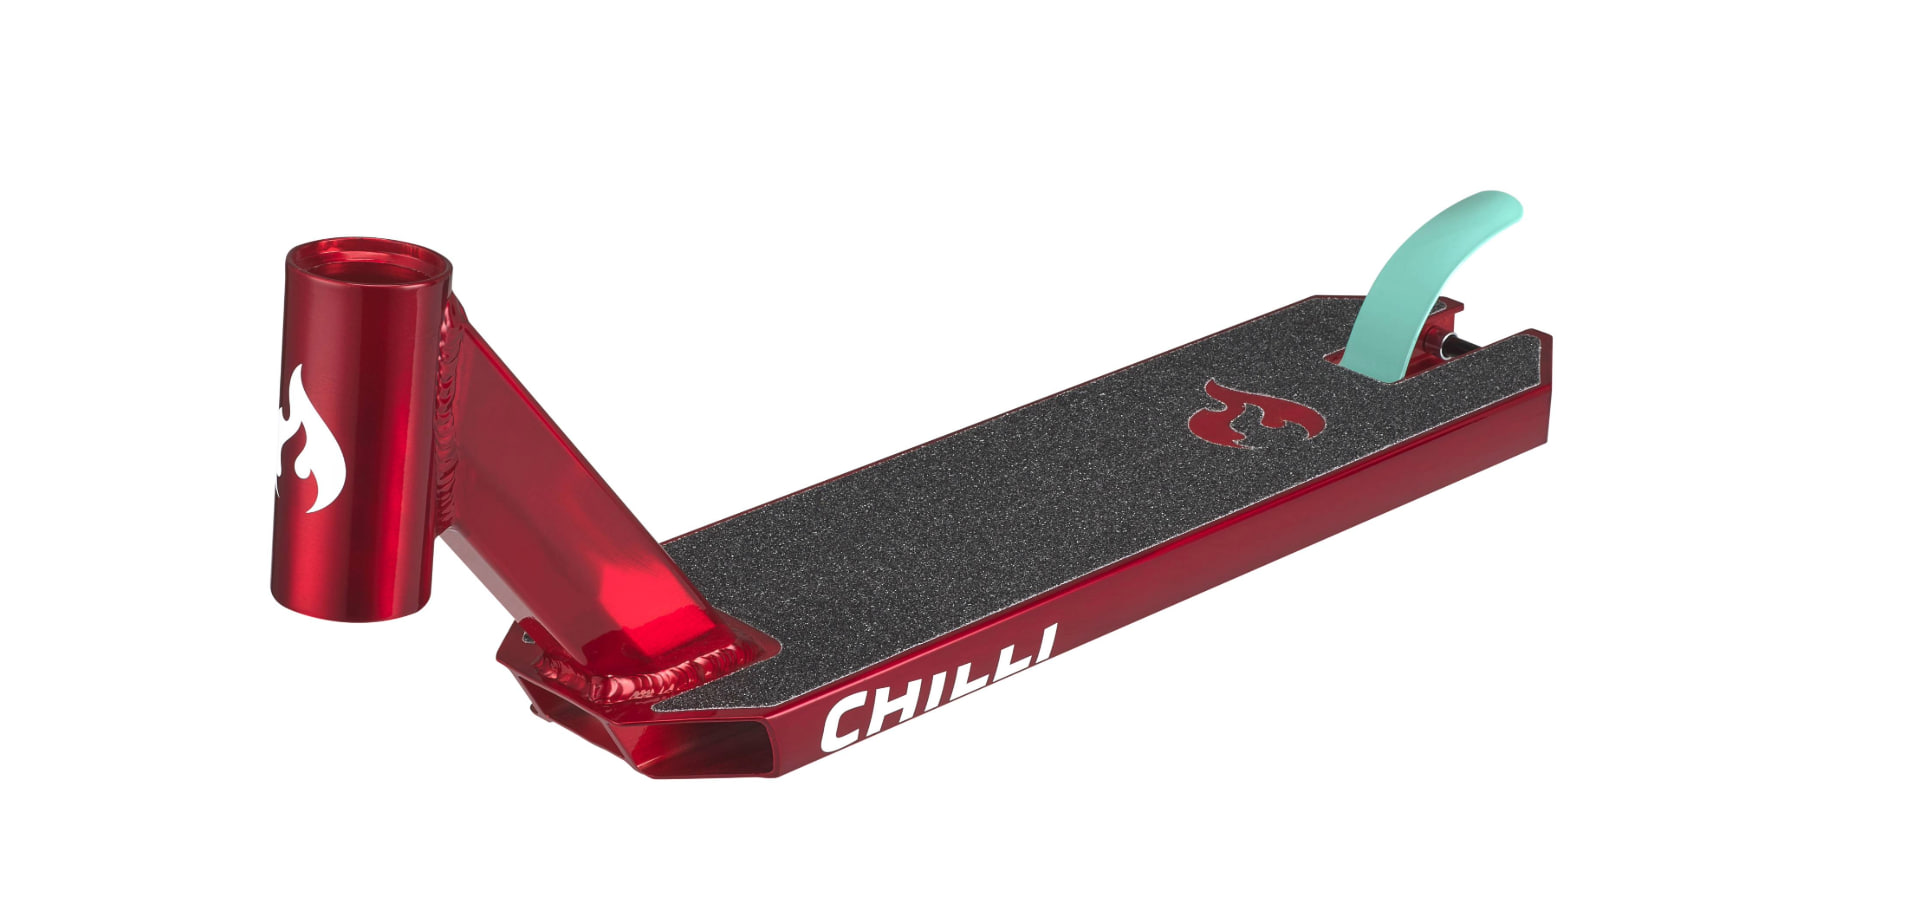
Material Science Deck
Material Science T-Bar
Material Science Handle
Material Science Brake
Material Science Griptape
Material Science Bearings
Material Science Fork